Arduino With Visual Studio Code
2019/12/14 categories:Arduino| tags:Arduino|Visual Studio Code|
Now, I decided to touch Arduino and prepared the environment with Visual Studio Code.
Arduino IDE is required to use Arduino with VS code, so install Arduino IDE first.
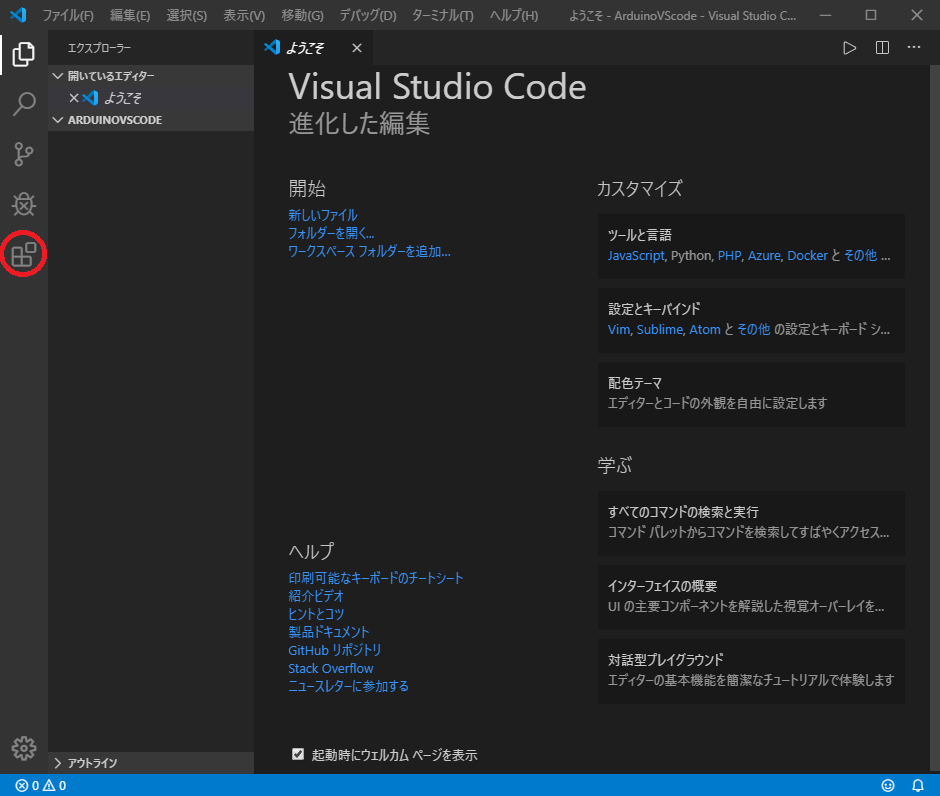
Then click on the extension in VS Code
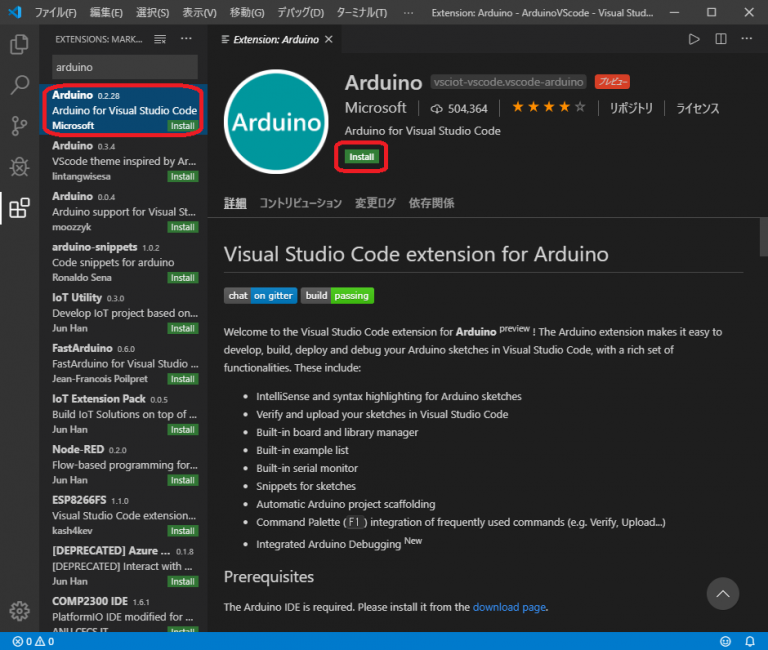
Search by Arduino

Select the one made by Microsoft and click Install
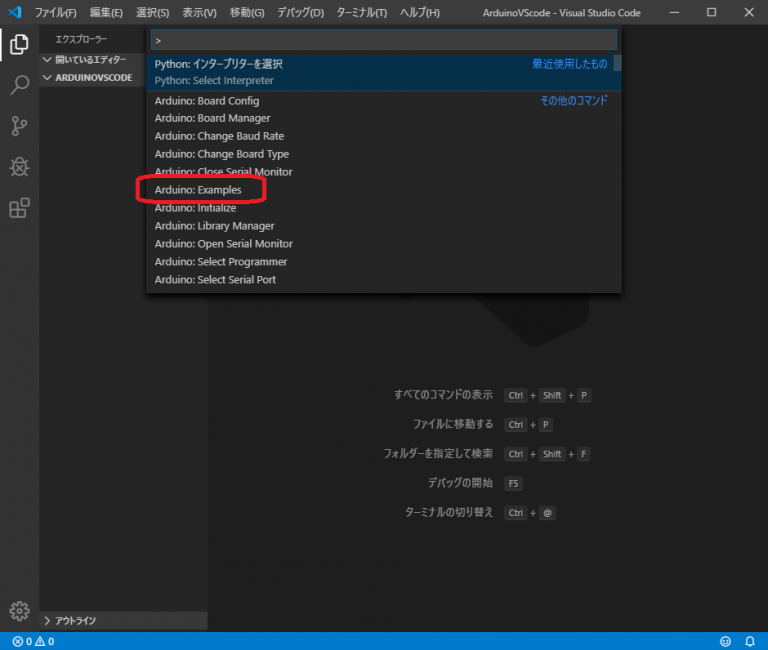
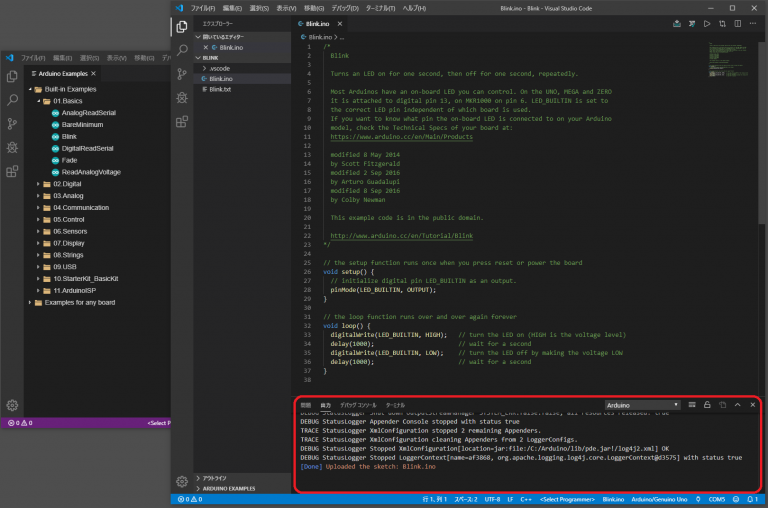
Press Ctrl + Shift + P to try writing Examples to the board and select “Arduino: Examples”
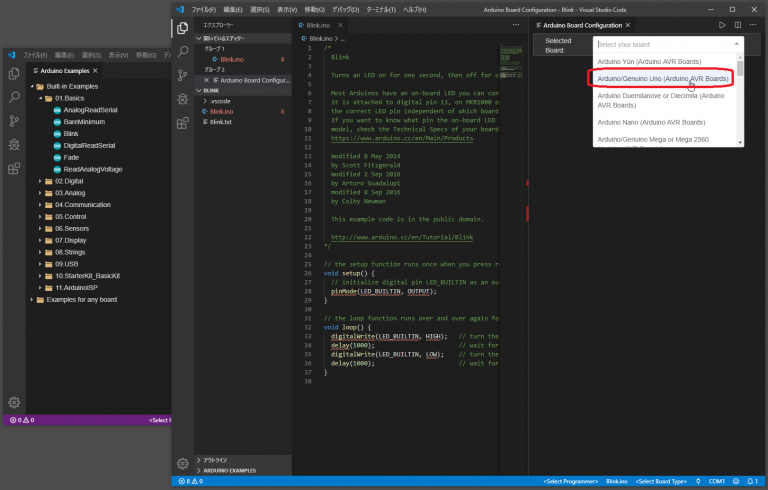
The “Arduino Examples” window will be displayed. Select “01. Basics-> Blink” from there to display the code. Then press “Ctrl + Shift + P” and select “Arduino: Board Config” to configure the board
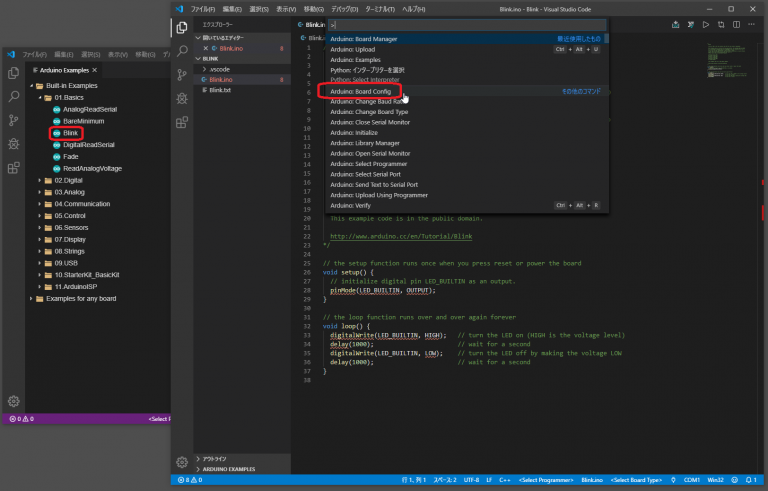
The board used this time is “Arduino Uno”, so select “Arduino / Genuino Uno” from “Selected Board”
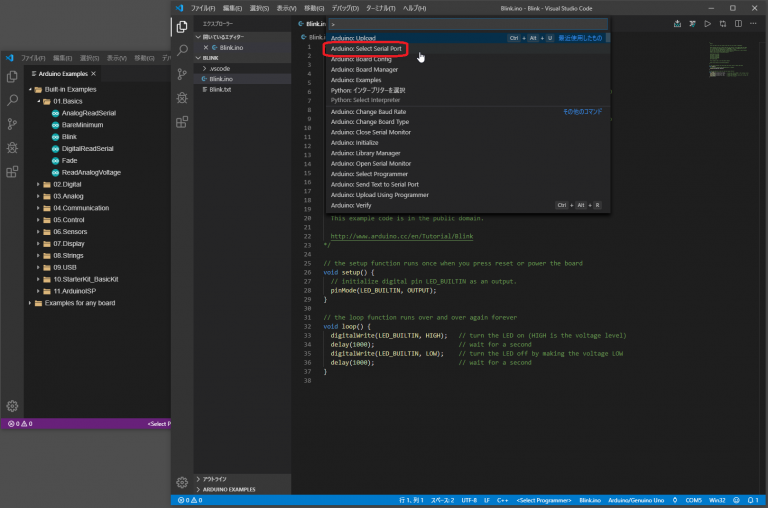
Press “Ctrl + Shift + P” and select “Arduino: Select Serial Port” to select the serial port to write to the board
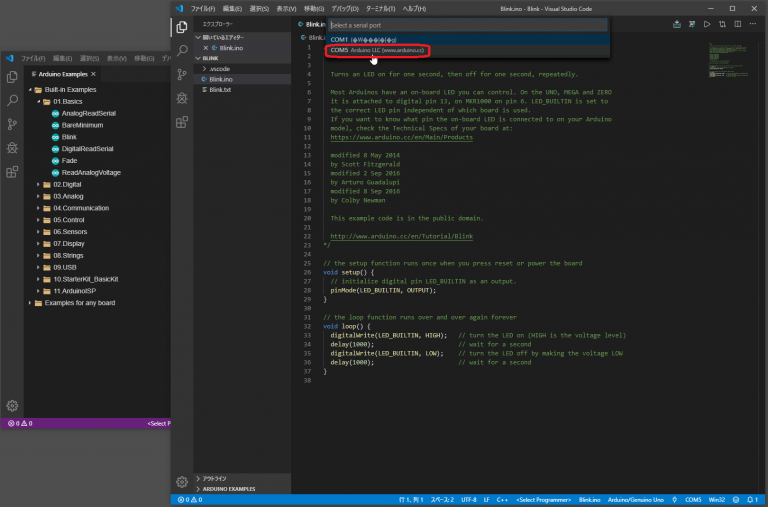
Choose the board serial port that suits your environment. This time COM5
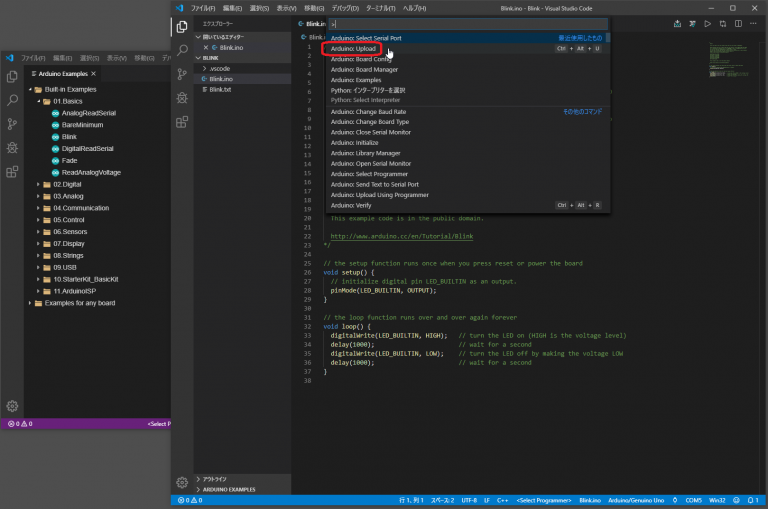
The code will be written to the board as an example, so press “Ctrl + Shift + P” and select “Arduino: Upload”
Writing is complete when “Upload the sketch” is displayed
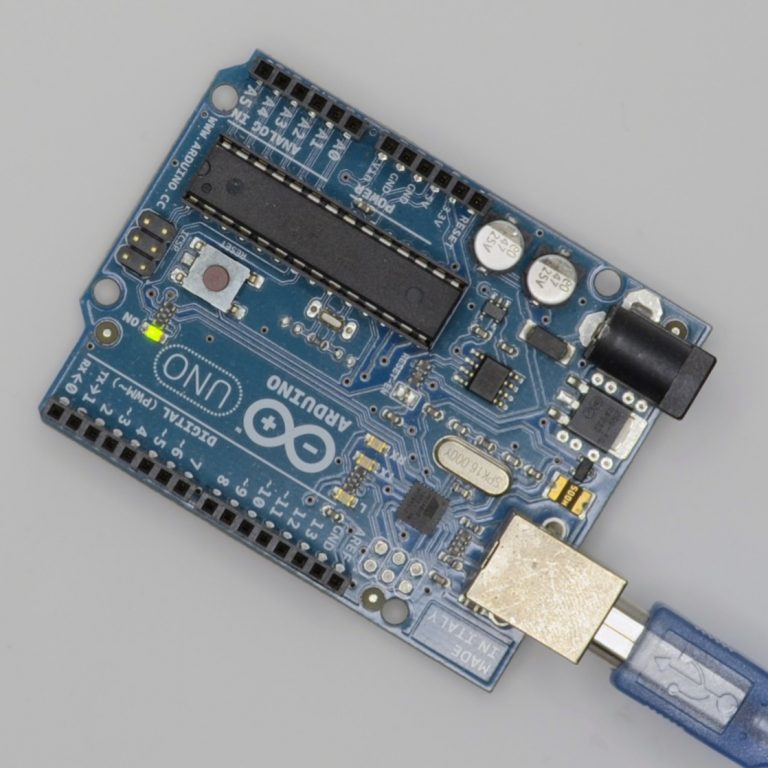
Looking at the board, I could see that the LED was blinking.
Now you can develop Arduino with VS code, and I think that coding will be faster than Arduino IDE.